

When was the last time you held a photo in your hands?
Not the double-tap kind. The kind with weight and texture—the kind that transports you somewhere immediately.
If you’re struggling to remember, you’re most likely in good company. We are, collectively, probably the generation that has snapped the most photos in our lives yet somehow also the generation with the smallest collection of albums and prints compared to those before us.
If I recall the hours I spent as a kid opening up the cupboards and falling into album after album of old photos of me growing up, it feels a little heartbreaking to think of it like that.
Our parents had shoeboxes. Mantelpieces. Those beloved sticky-paged albums that squeaked when you try to turn them. And as chaotic and imperfect as all of that was, they were always there. I recall many afternoons curled up behind the couch in my childhood home with the cabinet doors open as I pulled out album after album and revisited my younger years, alongside those precious glimpses of the years before. Our children deserve that too.
This is Part Three in my memory-keeping series, and today is about helping you finish—without needing it to become a “project.”
Let’s get your photos off your drives and into your lives
One of the reasons print-choosing and album-making gets perpetually postponed is that somewhere along the way, we convinced ourselves it needed to be a production. A creative project. Something that required certain skill and time and the right mood and a stretch of uninterrupted hours that no one ever has. I hope Part One and Two in this series has helped untangle this a little for you.
So let’s get down to the practical. You’ve copied over your photos for safekeeping, categorised them into folders for each event/month for the year, and hopefully have a ‘Best Of’ folder of favourites you’re keen to get into print. Here are some suggestions of where to next.
PART 1: Where to print photos in Sydney (and what to choose)
Option 1: Local camera stores (best support + guidance)
Your local camera shop is the one I’ll bring up here – it’s the place where I started printing my own photos many moons ago when I first started, and offers you customer service and relationship alongside. Places like Camera House or Ted’s Cameras, or an independent camera store near you, should really understand colour and quality, the staff should ideally know and understand what they are looking at and be able to answer any questions you might have. You are supporting a local business while hopefully getting a result that does justice to the image. Do give them a try.
Option 2: Big Retailers (for your everyday prints)
I know photographers generally do not recommend the cheap and cheerful options (at least not for their own professional work) but for affordable prints of your phone snaps or everyday images, I believe convenience, cost and ease play a huge part. So by all means give your local Kmart Photo, Big W, or Harvey Norman a go for prints you want to pop into your fridge, slide into a thank you card, or pop around the house. Accessible, quick, and far better than leaving them on your phone!
For larger fine art style wall prints of images you have had taken professionally, or hope to have framed, I highly recommend asking your photographer for their personal recommendation, or asking them to fulfil the specifics of your order for you. They are the ones that know how to bring out the best in an image, what style frame might suit both your home and the colours of the print, and they – like me – will probably do a happy dance knowing that this memory is going to live on and be loved in your home.
Option 3: Professonal Photo Printing
Professional images are colour-graded to very specific standards. The warmth of the skin tones, the depth of the shadows, the particular quality of the light – all of that is calibrated intentionally as part of the editing process according to the style of your photographer.
When you print a professionally edited image through a standard consumer print service, the colour profiles do not always match. What comes out of the printer can look flatter, muted, or simply different to what you see on your screen and different to what was intended. It is nobody’s fault. It is just a calibration mismatch, which is why photographers often prefer to have their images printed through professional labs that they can personally communicate with. I hope that sheds a little light on the process!
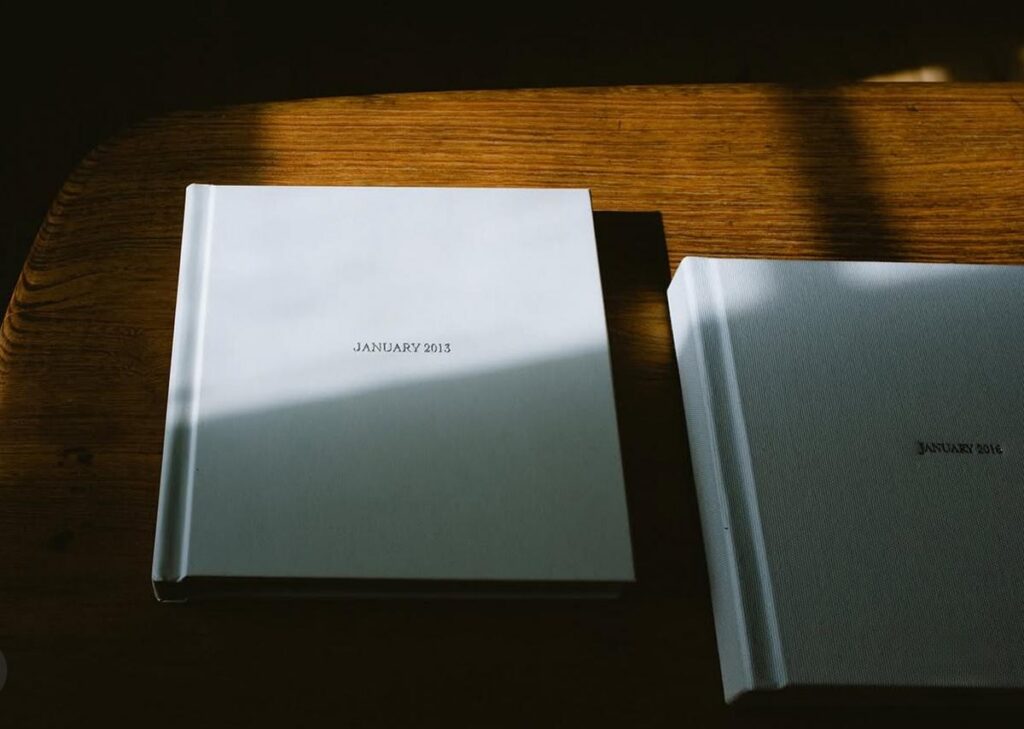
PART 2: Best places to make family photo albums in Australia
Note that each brand has their own unique album design software which are generally quite user friendly and will help you with the actual design process, but I’m including some design tips for you just in case!
Photobook Australia (best all-rounder)
My top recommendation for most families. Australian-made, fast shipping, decent quality, and they run sales constantly. Sign up to their emails and you’ll get the heads up. The design interface is user-friendly and the range of sizes and styles is excellent. If you’re in Australia, I’d consider this first.
Blurb (more creative control)
For the mum who wants more creative control and is comfortable spending a little more time and money on it. Blurb’s BookWright software is free, the print quality is good (I especially love their eggshell mohawk paper), however they are not based in Australia and you’ll have to pay additional for shipping.
Artifact Uprising (premium keepsake)
This is the premium option and priced accordingly – I’d suggest this only if you feel the above two options are not quite what you are after and you want something more elevated and unique. I would lean towards this option for a first year baby album or maybe even to spotlight a special event or holiday, but still opt for one of the above options for the ‘full year family album’ once you balance design, accessibility and cost. Ships to Australia.
Once Upon App (easiest way to finish from your phone)
The easiest possible experience. Download the app, add your photos, add captions if you want them, order directly from your phone. The design is largely done for you. Not the most luxurious finish, but it is beautiful, simple, and will most likely get finished and ordered which definitely counts for more than most people realise! I also have heard great things about mixbook which feels to also fall into a similar category.
___
Easy photo album design tips
Most album software will walk you through the mechanics; how to drag a photo into a layout, how to resize, how to add a page. That part is genuinely more intuitive than it looks. What the software cannot tell you is how to make the album feel like something. How to make it the kind of thing someone picks up and cannot put down. So here are a few simple principles I keep coming back to, regardless of which platform you use.
Let it breathe
The instinct when you have hundreds of beautiful photos is to fill every inch of every page. Resist it and remember that white space is not wasted space – it is the thing that makes the images around it feel intentional rather than crowded. Some of your most powerful pages will be a single image on a single page. Let the photos that matter most have the space they deserve.
Group photos in sequences
A series of three or four images from the same moment (e.g. a wide shot, a closer crop, a detail) tells a story in a way that one image alone cannot. When you find a little run of photos that belong together, put them together. Let them breathe as a group. This is what often allows an album to flow and move easily from one event to another.
Vary the (visual) pace
A good album has visual variety. A full-bleed double page spread followed by a quieter layout with two smaller images and some white space. A detail shot after a group portrait. A wide landscape after a series of close faces. Have a play and see if this makes sense for you too!
Add tiny bits of text
Most album software will give you the option to add text, and I encourage this. You don’t need much. A name and an age and a date if you recall. One line about what you want to remember. The funny thing someone said that day that you know you will forget if you do not write it down somewhere.
Also an idea I love and have implemented in my own albums is to ask your kids! Sit with them while you are building the album and ask them what they remember about the holiday, the birthday, the ordinary moment that you want to hold onto. Their answers will sometimes surprise you. Write them down exactly as they say them, in their words, with their particular logic and their beautiful six-year-old grammar. Because that too is a time capsule and something your future self will be so glad you captured.
____
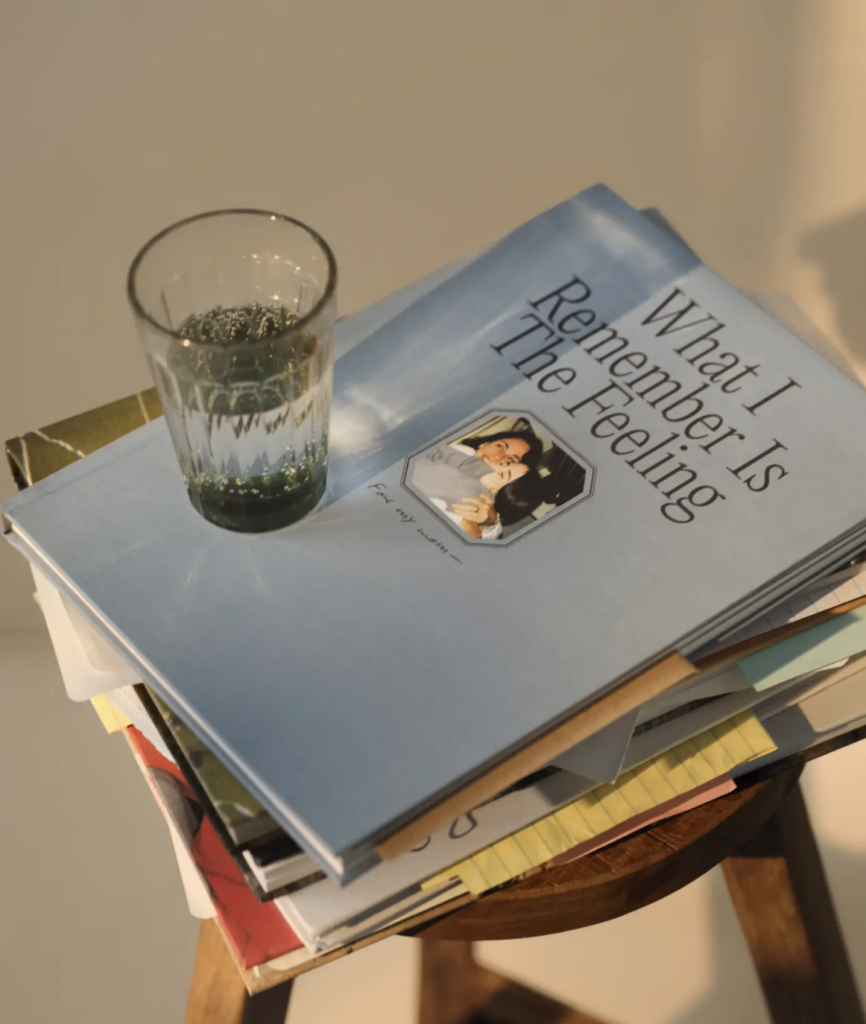
This is a time capsule (and it’s worth finishing)
Because that is really what this is, isn’t it. A time capsule of this one beautiful, ordinary, extraordinary life you are all living together. The faces of the people who make it what it is. The evidence that it happened. That you were here. That they were little. That it was full and loud and tender and real and so, so worth remembering.
Thanks for coming along on this series friends! I hope it was helpful and encouraging, and helps you kick-start your memory keeping goals. Always just an email away if you have a question, or you’re ready to book in your next session!.


